Wednesday, August 8, 2012

A Little Loose Parts Play


"Look, Miss Connie, I made an A for ME!"

Almost 28 months, playing with loose parts in the construction zone. Totally independent activity. I've never done this with them. We are just starting on letter identification and formation. I had to grab the camera.


"Well, I can make an H for me, too!" 
Yep.


"Well, I can sit on a circle!" 
It's a little harder to make a G with loose parts.


Today's big thing, besides making letters with our few left-over PVC pieces, was holding them up to our eyes and spying out as pirates. There were a lot of "Aaaargh!"s going on. Even little L got in on it.


We took advantage of the overcast morning and played outside until lunch. Love these kind of days.

Ocean Aquariums Craft


This is not a quick craft, but it does turn out awesome and has a ton of skills utilized. 


This craft has been around for a long time. I've been doing it for ten years, so there are many variations. 

Here's mine.


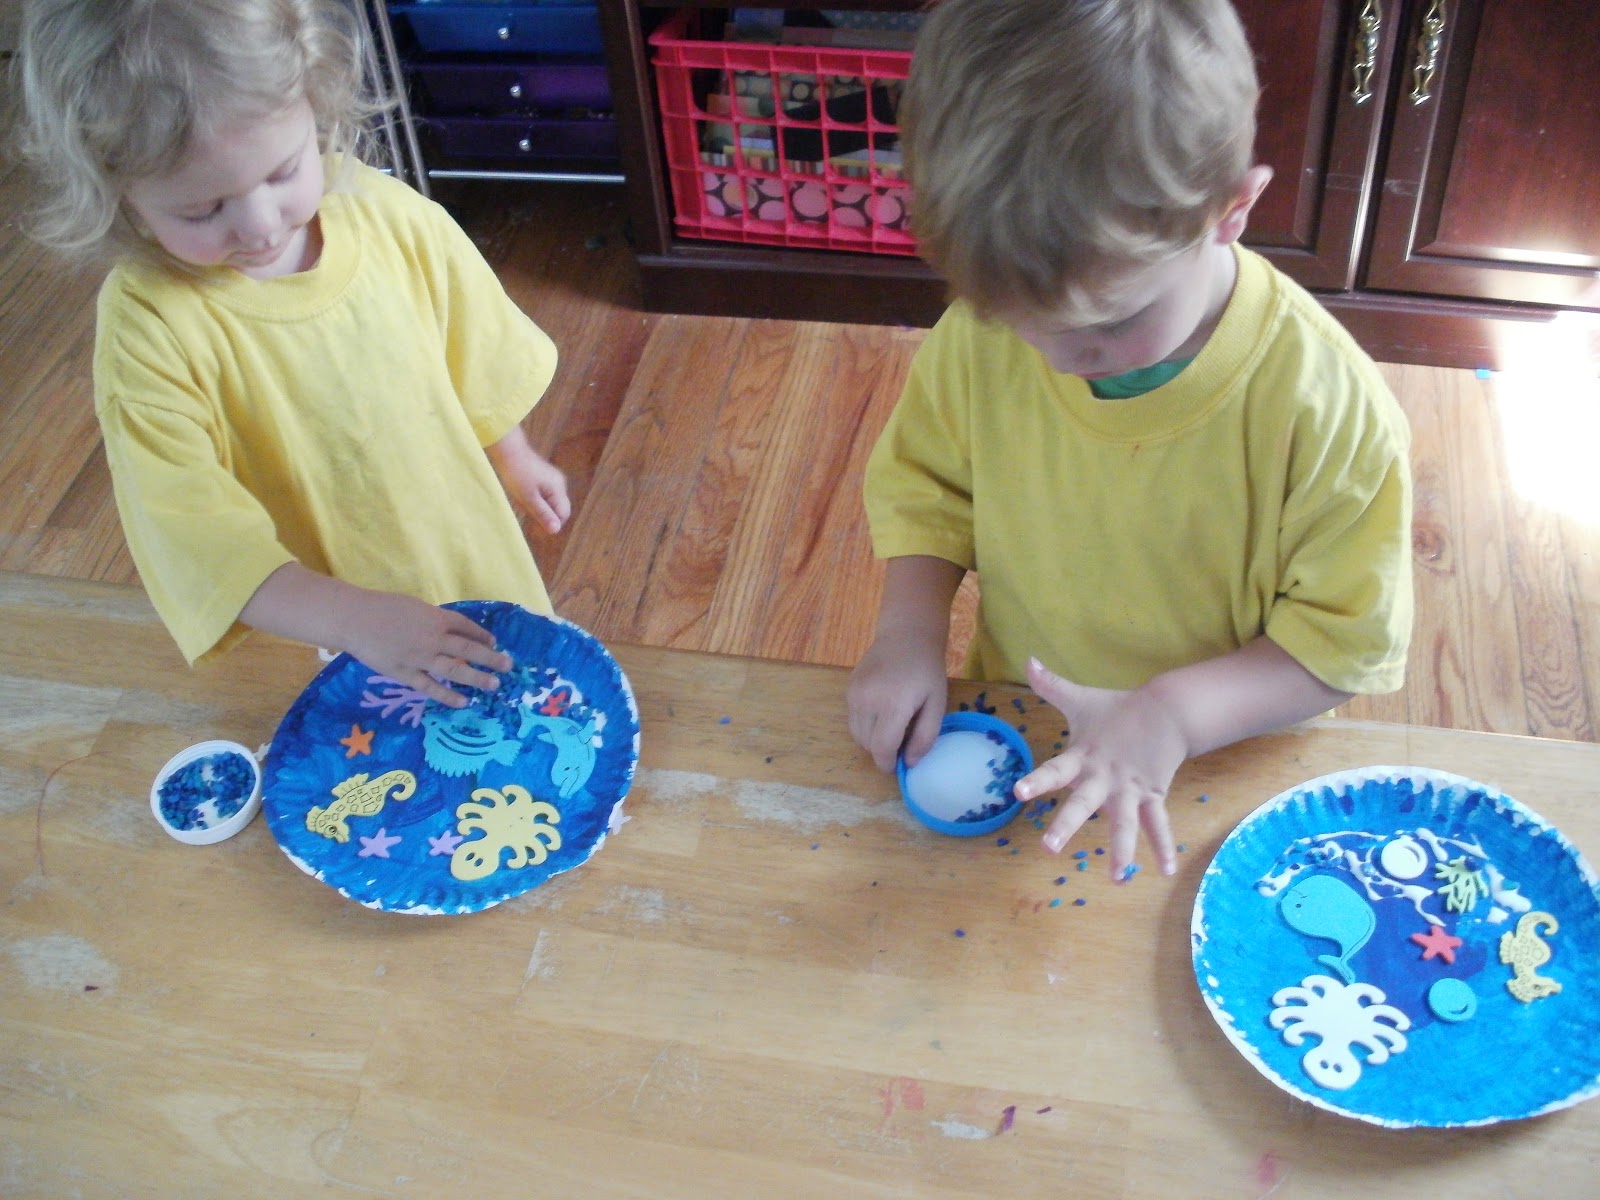
The first day we painted our background plates. The children were given a choice of green, blue, and white paint. They chose a palate with blue and white paint to use and mix as they pleased. Later, the girls insisted on having some purple as well.


The second day they added ocean themed foamies, and some of the blue gravel from our sensory bin,


Followed by torn strips of green tissue papers along the bottom.


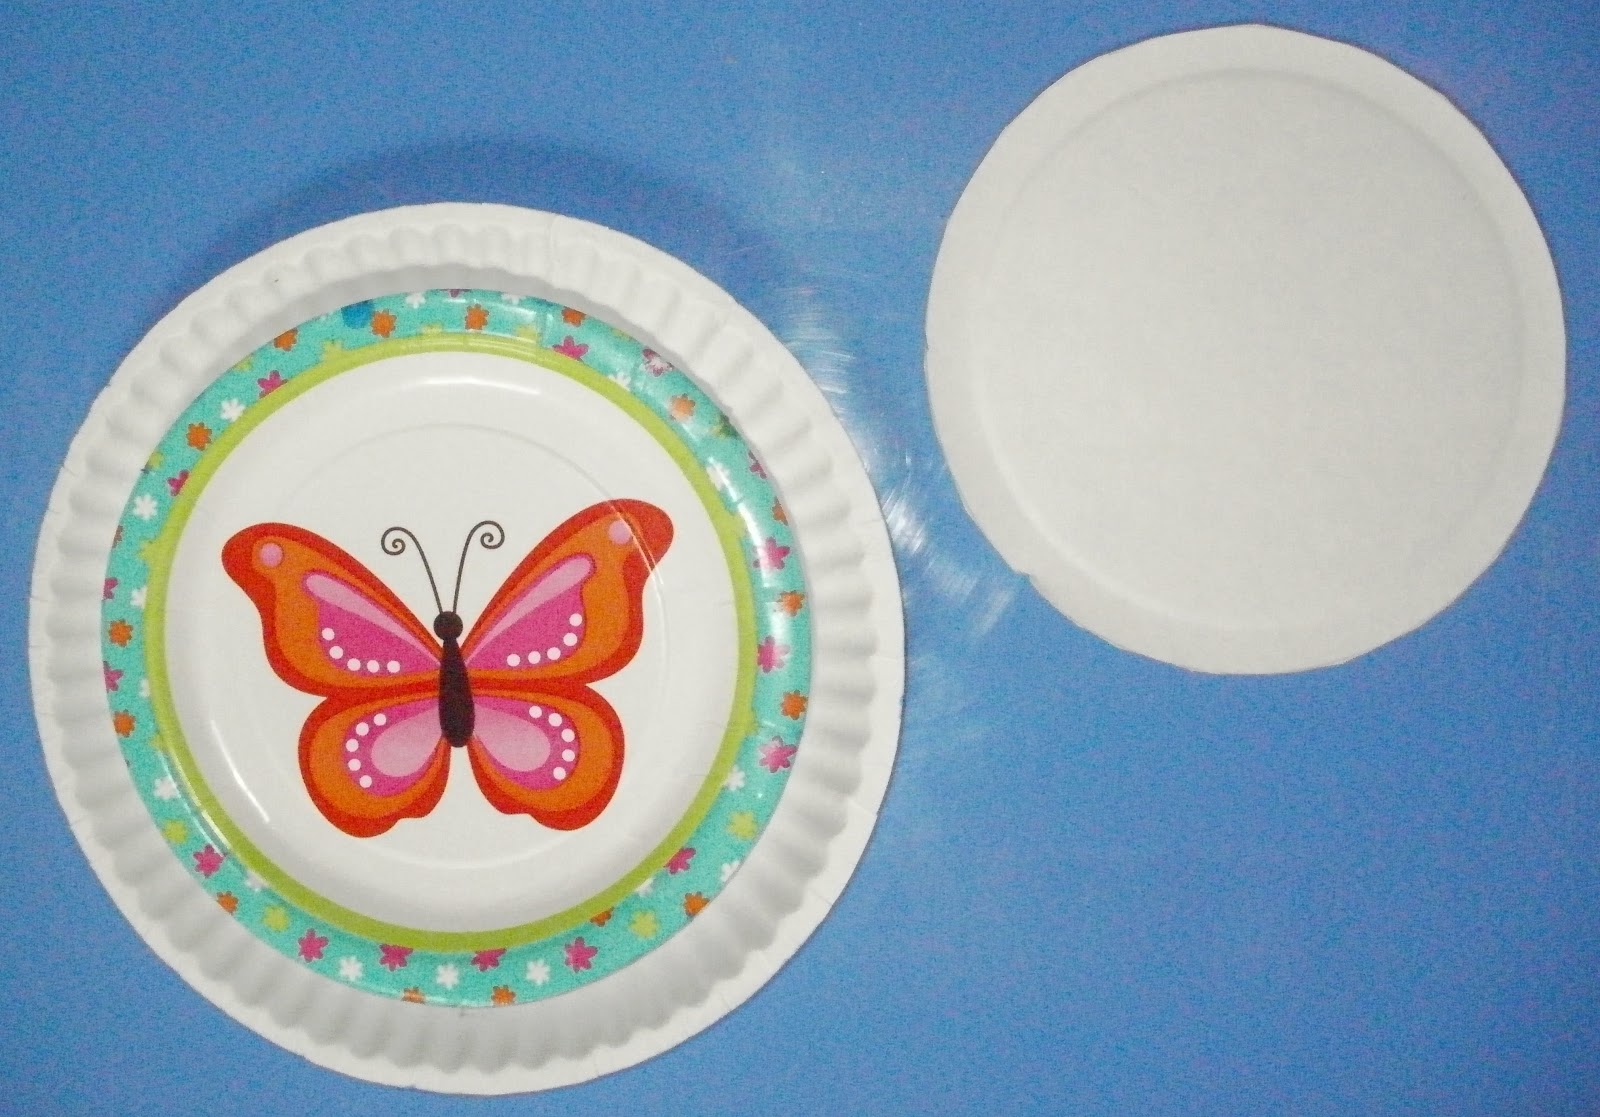
I tried a lot of different plates and bowls and lids before finding one that fit perfectly between the cut outs, leaving at least a 1/4 inch overlap. Given that these children are all a young 3 or younger, I cut the inner circles out myself. That skill I felt was beyond them without folding the plate in half, which wouldn't work. I cut  right at the bottom of the scallops to allow as much viewing room for their art as possible.


 The third day, they traced around a butterfly birthday plate onto vinyl and cut that out.


They put glue around the inside edge and pressed the vinyl circles onto it.


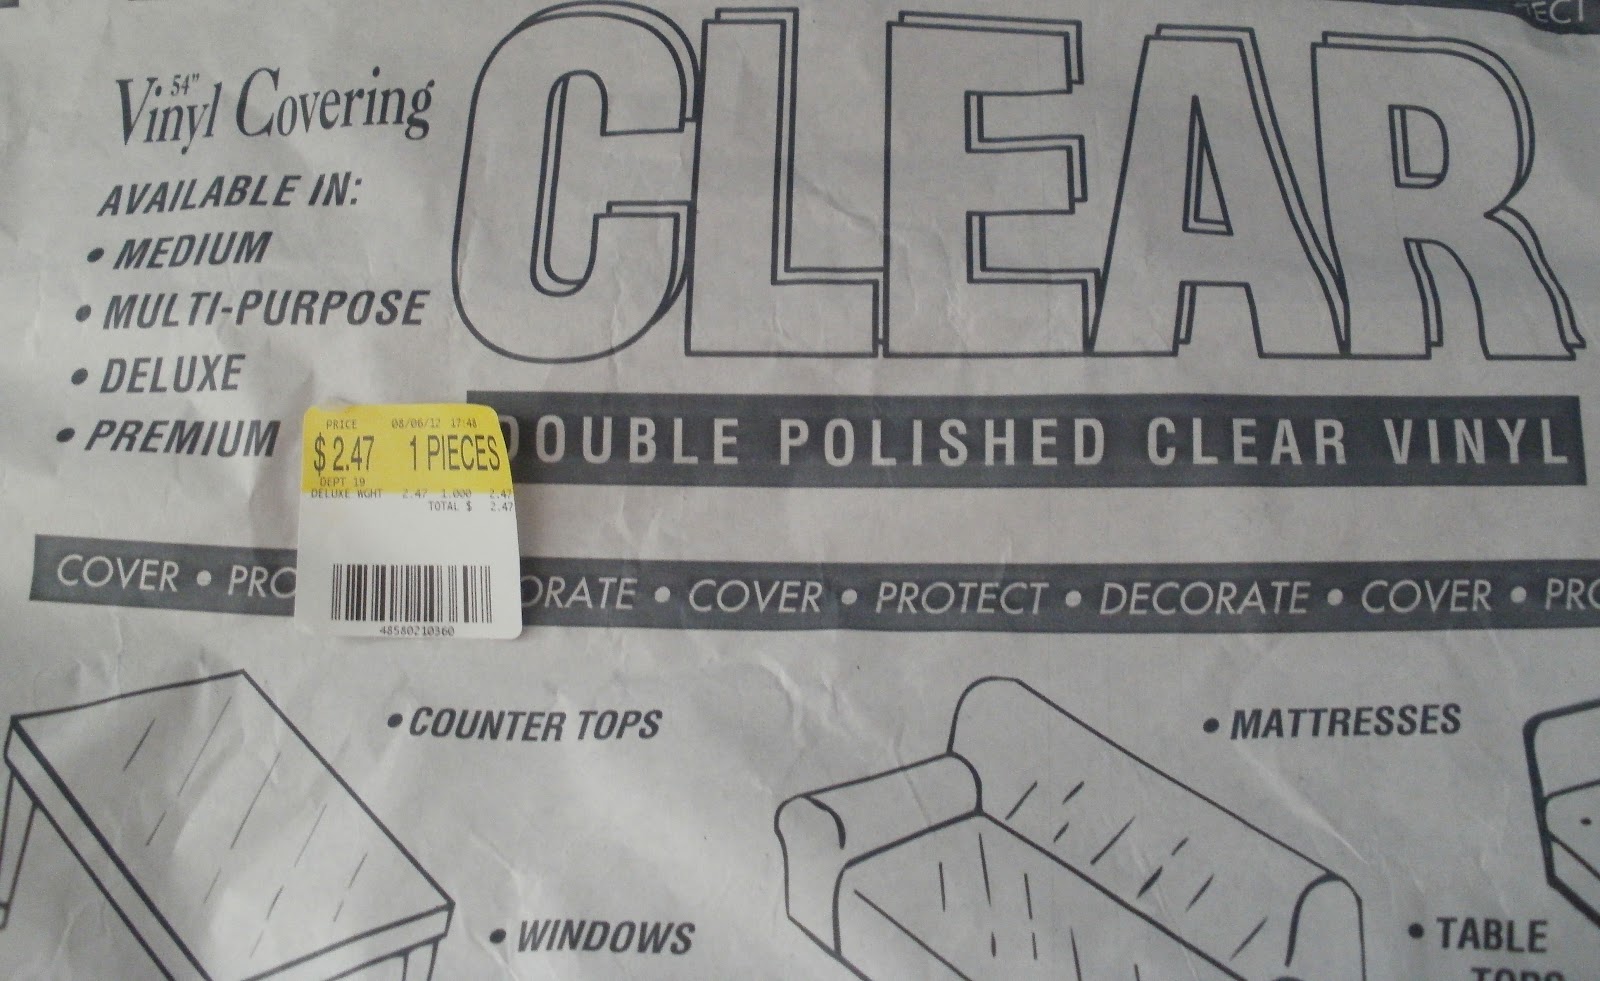
We used the DELUXE weight vinyl that I got at Walmart for $2.47 a yard in the fabric department. Not every Walmart has a fabric department. You can obviously purchase it at any fabric store, but you can also get vinyl at the hardware stores. Just make sure it says CLEAR and HEAVY WEIGHT.  It's good for a lot of things, including toddler spill mats. 


Later that day, after the glue had dried, they put glue around the outside edge of their ocean scene 


and attached the two sides.


The children chose the length of their string and cut it. I tied a double knot in one end and stapled over the string to hold it on, along with stapling the other 3 corners for extra security.


Then I tied a loop on the other end for hanging.

I just saw yesterday a similar one that had the outer ring painted silver with Cheerios spaced around it also painted gray to look like a submarine porthole. If I would have seen that earlier, we probably would have done that. 


If you don't have foamies, I have also seen Goldfish crackers used, fish cut outs and other items. I just really like the variety of the foamies, the ocean animal discussions they create, and obviously, I have a LOT of them to use. I do wish I would have had some small shells for them to add, but I only had large ones. 


If the child pops the vinyl out, just run a bead of glue along the edge and lay it vinyl side down until dry. If using the heavy weight vinyl, it will fall down and adhere with no problem.


I've seen this listed as for ages 6+, but as you can see, even my 18-month-old was able to do a modified version, and the 2-3 year olds were able to do most of it just fine with some supervision and a little teacher assistance as needed.


If you don't staple the sides together north, south, east and west, then don't plan on them holding together long with just school glue.


SKILLS

Art: paint, cut, paste, creative expression, trace, mixed media, filling in a space
Math: long/short, circles, top/bottom, up/down, 
Science: ocean habitat and animals
Fine Motor: cut, paste, paint, trace, pulling stickers from foamies, placement of items, tearing tissue paper, 
Social: following directions, sharing resources, waiting turns
Tags: ocean, sea, theme, unit, childcare, child, daycare, art, craft, cut, paste, glue, aquarium, paint, painting, kindergarten, homeschool, kid, kids

Monday, August 6, 2012

Starfish Texture Craft w/Template


The children enjoyed making these cute starfish crafts.


I created this TEMPLATE  available for FREE at TPT.


for them to trace and cut out from tan construction paper or cardstock.


 Then they painted it with glue.


added Rice Crispies,


pressed them into the glue some, and allowed it to dry.


Easy Peasy.

Then they glued it to cardstock and cut out and added the header. The background could be painted, colored, or collaged. We just had done that with other projects for this theme and went simple on this one.

SKILLS
Art: unusual media, trace, cut, glue, paint, color tan
Math: star shape, lines of symmetry, 5
Social: sharing resources, following directions
Science: animal camoflauge

Other ideas for the  TEMPLATE:
  • Trace and cut out from sandpaper. Use cut out as an ocean scene embellishment or for a rubbing craft.
  • Trace and cut out from sparkly gold cardstock to use as a hanging ornament for an under the sea theme
  • Trace and cut, cut in half  under side arms and place onto a paper bag as a puppet, add google eyes
  • For an ocean theme, cut out in quantity and add numbers, letters, sea animal pictures, sight words, etc. Laminate and use for sorting or games either as table work or on the floor. Stomp the Starfish.
The orginal for this craft is at All Kids Network that I found via Pinterest. They used pastina pasta, the small star shaped one, but I could not find it easily locally so I changed to Rice Crispies. I also wanted to use a template that was easier to cut out in quantity and was a little more symmetrical for my purposes than theirs, so I created my own.Tags: ocean, sea, theme, craft, unit, art, cut, paste, glue, puppet, template, starfish, animal, math, science, s, childcare, child, care, daycare, preschool, kindergarten, printable

Thursday, August 2, 2012

Book Hospital


Our theme and circle time stories are read as a group, with a lot of questions, movement and discussion. 

Library time is a specific activity where the group reads at the table, while I read to each one individually a book of their choice. This is a chance to cuddle and read a very familiar book with my full attention and no interruptions.  


As I came to the table after reading to the last child, the children were showing me some MORE books with damage. Our Book Hospital bin was getting pretty full, and many more books were showing signs of wear that asked for some preventative treatment. I figured it was time for some surgery. 


Isn't this a cute label? I couldn't come up with anything I liked more, so I downloaded it from Kindertastic. Since we have some fairly large lap books, and we have a lot of books that get a lot of love, our bin, from the dollar store, is only slightly smaller than a laundry basket. 

It isn't often that we have book issues in the preschool room with the regular books, just the occasional tear, but here in the toddler/early preschooler room, the board books get pretty abused by little ones just learning how to treat them properly. 

The board books are always available for them to read at the table, however the are kept up on a shelf so the little toddlers can only get to them under supervision. Cloth and vinyl books are always out.


This may seem like a relatively DUH post, but I've been doing this for awhile, and it is still an art to repair them and an effort to keep the books constantly in good condition. Most of these books are nearly 10 years old, some are 20 years old from my oldest son, and some are even [gasp] in their forties from my childhood. Since I have no intention of retiring from doing child care anytime soon, these books could potentially be used by these children's children one day, if they are taken care of properly. 

With board books and hardback book covers, the top printed layer often comes loose and de-laminates. Given that I want these books to last a lifetime, or as close to that as possible, I choose to use an acid-free spray adhesive [Elmer's Craft Bond is my choice] whenever possible. I simply spray one side, 


and smooth from the attached side out with a wooden ruler with a firm pressure to eliminate all air bubbles.


If the spine is broken, often it gets cupped. Before adhering, I fold it to cup out, rather than in towards the book spine. This will help it sit down rather than cupping up and not adhering. I spray it and place a rubber band around the spine until dry. 


Once dry, I tape the spine. As soon as a book starts to show wear around the spine, I tape it. I should do this to all of them initially, but new books are always a high interest and I seem to be unable to get it done.


To tape the spine I use a heavy duty packing tape. I know there are some archival quality library tapes out there, I just haven't gotten any yet. The acid-free adhesive is easy, as I always have that for scrapbooking, but the tape I just haven't gotten to locating and buying yet. 


I place the tape about 1/2 inch over the top face spine edge of the book and cut it to length. It is important for it to be as straight along the edge as possible. 


To smooth it over on smaller books, I firmly press with both index fingers over the top of the taped edge. Usually this will not create any fold or bubbles in the tape. The heavier the tape, the less likely it is to wrinkle.


For bigger books, I will smooth from the middle with both thumbs, working it firmly and smoothly in both directions.  Trim the ends even as needed.


 A book that was falling apart, now looks and reads just fine. 


While I'm glad the children will be able to continue to read these familiar stories, I'm also glad that I was able to rescue over $50 in books today. These ranged in price from $8-$5 a piece, and those were the prices on them. Replacement cost would be higher. 

A few of the books today any sane person would have thrown away. But of course the ones in the worst shape, are almost always the favorites. 
Tags: library, book, hospital, repair, preschool, daycare, child, care, childcare, kindergarten, books, board books, rescue
Crab Handprints with Rubbing

These are just TOO darling for our OCEAN theme.

Yes, he wanted a sad crab with a frowny face.

The one I saw had colored paper for the background, which I'm pretty sure wasn't cut by the child, losing a whole host of process art experiences. So, as usual, I changed it up to add more learning elements to the craft.

First we folded our papers in THIRDS. Since these are two-year-olds, I didn't worry about them getting it exact and doing major comparisons. We just quickly went over the general idea of thirds and that we were going to draw sand on the bottom third and ocean and sky on the top two-thirds.


For older children, I would have them be a little more precise in folding their thirds, and color the bottom tan, the middle a darker blue for the ocean and the top third a light blue for the sky.


Then they each chose a piece of sandpaper to put under the 1/3 side of their papers to start rubbing over.


This is a HARD concept for this age. So, we do it every couple of weeks. It's good to keep them on their toes, and realizing that rules can be situational, especially when it comes to art.


"In this case, for these reasons, we do it this way this time."
  • Yes, we usually hold our crayons upright, but not this time. This time we lay them down and push them over the paper. [This is not something they see adults do.]
  • Yes, we are not supposed to take the papers off the crayons, but this time we will. We have to have the papers off the crayons to use their sides rather than their tips.

When done with the tan third, we opened them up and draped the tan side over the edge of the table. For the blue side, we didn't use the sand paper underneath.


Once done with the rubbing, the children chose the color of their crabs and we painted their hands for making the hand prints. It helped to turn the paper to align with the child's hand. Sounds simple, but they wanted to have their papers directly in front of them and turn their hands sideways. They really couldn't get the right angle that way, so I had to convince them to let me turn their papers instead.


G chose a traditional red crab. The girls chose purple crabs. I assured them there really are bright purple crabs. Once the paint had dried, we added some google eyes. The children had to find two SMALL eyes that were the SAME size.


Then they were instructed to draw a yellow circle in the sky for the sun and color it in, if they so chose. They did. These are concepts we are just starting, drawing shapes and coloring in. I liked the opportunity to keep the skill request small and easy and relevant to the project. They did a VERY good job.


They each chose a cotton ball and pulled it part. After deciding where their cloud would be, they laid down glue, 


and carefully placed their cotton fluffs upon it.


They chose what they wanted for the mouth among the craft supplies. H chose a gold braid, and G chose a purple yarn. 

A left early. It's Friday. 

We really work on proper scissor hold from the time they begin teacher-assist cutting around 18 months. This hold is the PERFECT one for preschoolers. The index finger pointing out gives them much greater control over their line.


Thumb up! Scissors steady! Move your paper! 
[or whatever you're cutting]


They had to decided if they wanted a happy or sad crab. H didn't have much choice, because the gold braid wouldn't form on just glue. 

Again with the glue. They LOVE to glue.


Then they carefully placed and held down their mouth pieces for a few.
Fini!


This is a great piece to work on positional statments, so we did.
  • What is the crab ON?   [beach/sand]
  • What is BEHIND the crab?   [ocean, sky]
  • What is ON the crab?   [eyes, mouth, legs]
  • What is UP in the sky? or What is IN the sky?   [cloud, sun]
  • What is DOWN on the beach?   [crab, shells]
  • What could be IN the ocean?   [open discussion]
  • What is UNDER the cloud?   [crab]
  • What is NEXT TO the sun?   [cloud]

I wish I would have bought the shell hanging that I saw at the Salvation Army the last time I was there. I just thought it was too big to store for this theme. I didn't think about taking it apart for the little shells. If it's there the next time I go, I'll grab it so we have some little shells to use as accents on projects like this one. Unfortunately, I only had big ones on hand.


I got this idea off Pinterest via Daily Dose of Sugar Mama, who no longer has her original link id for the site she got it from.


SKILLS

Art: artistic expression, rubbing, painting, printing, cut, paste, drawing, mixed media, colors
Math: counting eyes and legs, thirds, top/bottom, big/small, same/different, up/down, on/off rectangle, circle
Science: crab anatomy, habitat, sky/ocean/beach discussion
Social: waiting turns, sharing resources, requesting peer assistance
Fine Motor: drawing, painting, rubbing, cut, paste, picking out google eyes, pulling cotton, placing items
Tags: ocean, sea, beach, crab, animals, habitat, science, theme, unit, craft, art, painting, rubbing, preschool, child care, childcare, daycare, kindergarten, handprinthomeschool, handprint