


A materials list is at the end.

I used this activity to really work on the concepts of PAIRS and SAME/DIFFERENT.
Write names on the back of paper plates first if more than one child is doing the craft!
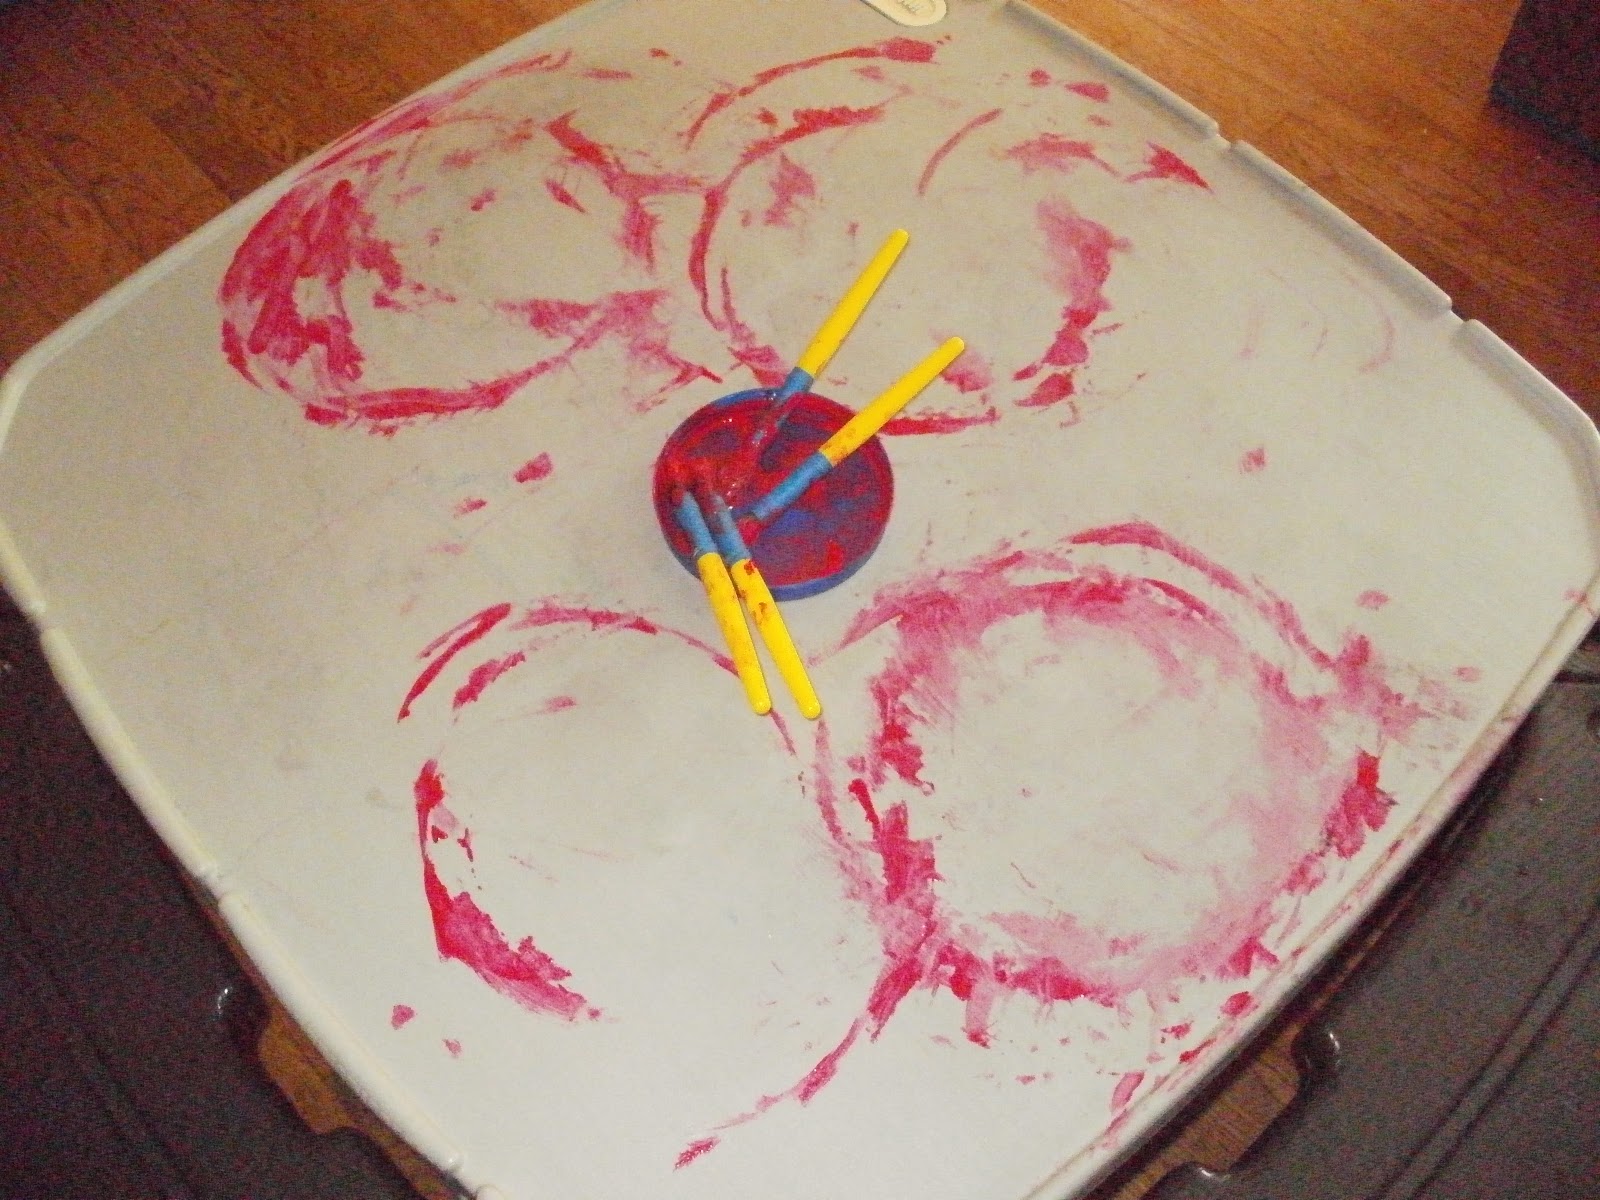
1. Paint a 9-10 inch paper plate red
So we actually did black first, and even though I thought I had THOROUGHLY cleaned the brushes, there were still traces of black that got into the red, so I recommend painting the red first, or using different brushes.

2. Paint a 9-10 inch paper plate black

We discussed how the plates are the SAME size, and the SAME in that they are both painted, but they are painted DIFFERENT colors. We now have a PAIR of painted paper plates.
LET DRY THOROUGHLY!
3. With the child fold the red paper plate in half, open and let them cut on the line
We talked about halves, symmetry, both sides being the SAME size and that now we had a PAIR of wings because we had two that are the SAME and they go together.
4. Using a hole punch, overlap the two red halves and punch through both
This was more difficult than I thought it would be. Even the three-year-old didn't have the strength to punch through the two layers of paper plate by herself with the hold punch I had. So each child lapped their pieces and attempted to punch, but I ended up doing each one in the end.

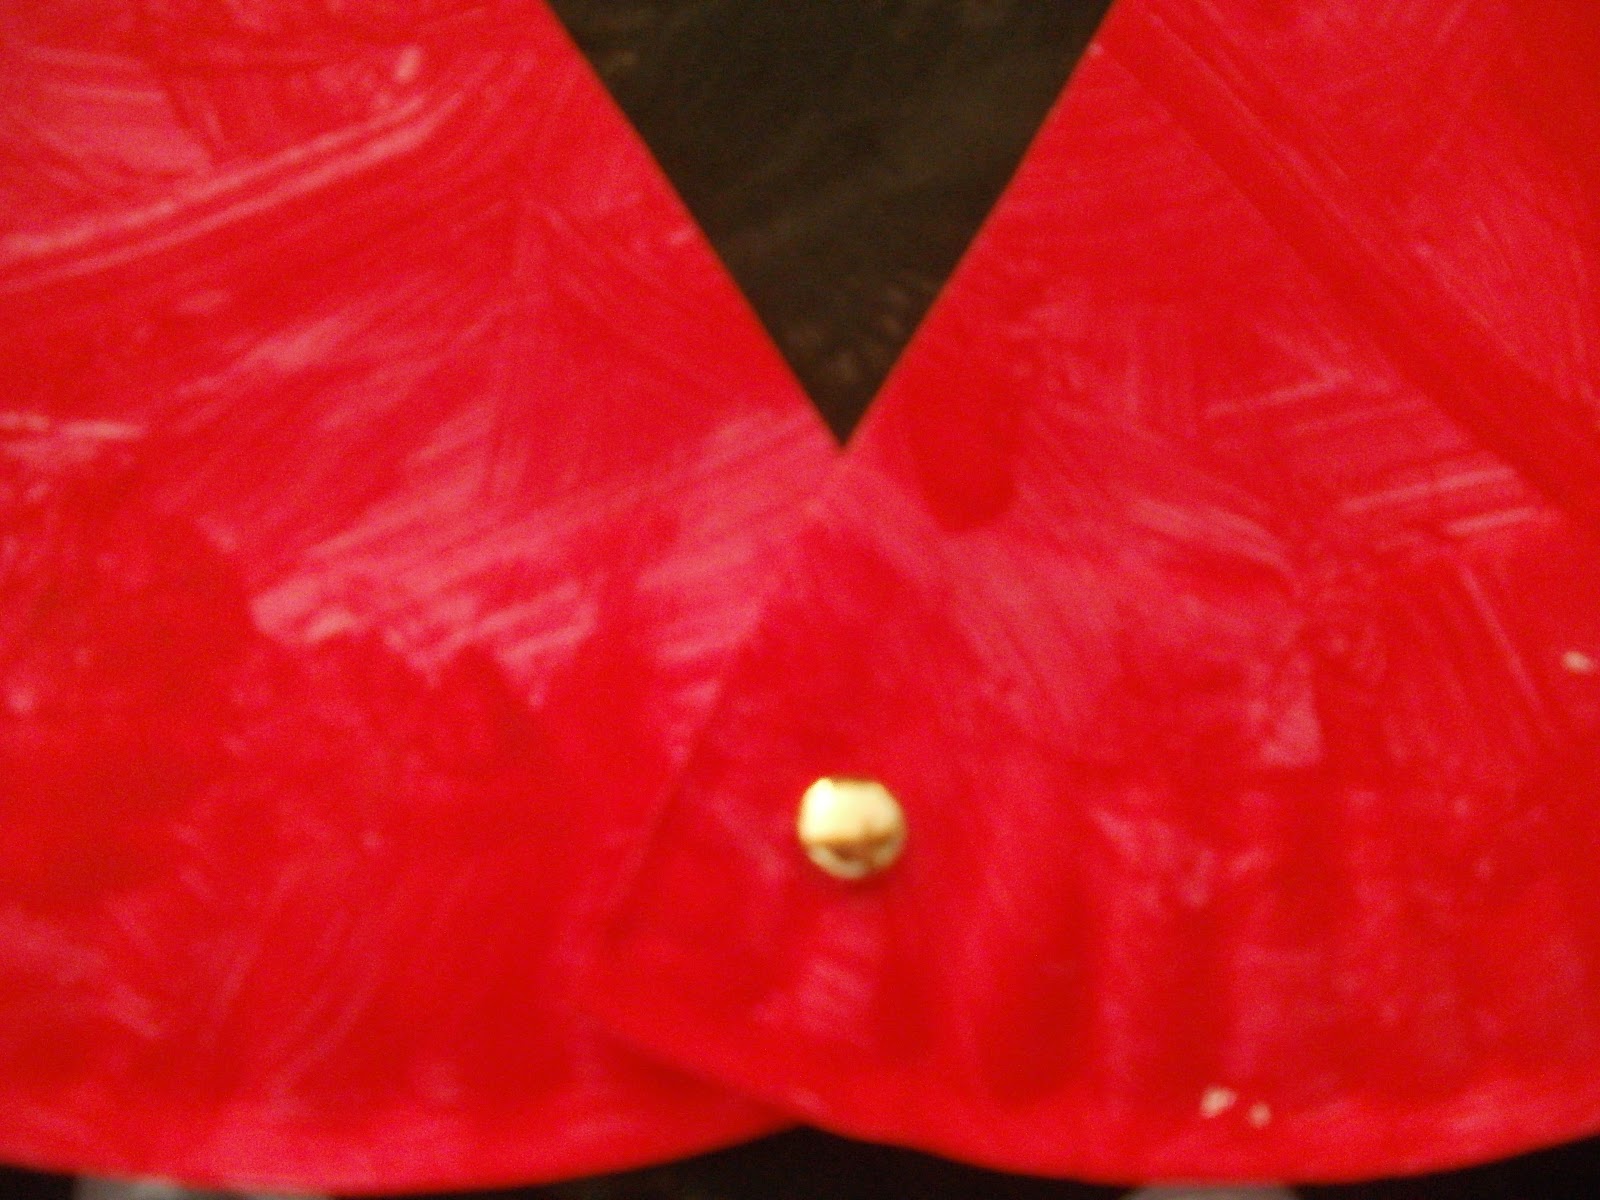
5. Line up the red halves on top of the black plate. The outer edge of the red wings should be at the edge of the inner ring of the black. Punch a small hole with a pencil into the black

6. Place a brad through the holes and open on the back.
The children did this excellent fine motor skill. If they had trouble spreading the back tangs, I opened them just a hair to facilitate.
[Why do ladybugs have wings?]
7. Punch two holes into the black center in front of the brad
You can see the holes punched for the antennae are about 3/4 inch on either side of the brad [center] position. The older girls were able to do these single-layer ones and I helped the younger ones.

The children chose the pipe cleaner they wanted and threaded it up through the holes. We talked about how they needed to be the SAME length, and I pointed out when they were DIFFERENT. The older girls were able to twist the ends, and I twisted the ends around the fingers of the younger ones. We discussed how they had a PAIR of antennae. We discussed how ladybugs are DIFFERENT from us, because we do not have antennae.
[Why do ladybugs have anntenae?]
We left the antennae loose and movable like the wings. If you don't want them flopping about, then they can be glued, taped or stapled in place.

[Why do ladybugs have round spots?]
We used the center of a tape reel. It made rather large dots, suitable for this younger group. For older preschoolers you could use something smaller. The 3-year-old was able to do this independently from tracing to cutting the circles. I held the hands of the younger ones as they traced and we used teacher-assist scissors to cut out. They chose how many dots they wanted before we traced.
10. Accordion fold a piece of black construction paper along narrow edge about 1/2 inch wide to create cutting lines for legs. Cut 3 strips, cut those 3 in half.

I found it easier to fold one sheet all at once and cut apart at the 3-section interval for each child to then cut apart, than to try to accordion fold a smaller piece for each child.

11. On back side of black plate, mark glue positions for legs at clock positions 3 and 9 with the brad at 12. Leaving 4 open scallops between, place additional dots above and below.

We discussed how ladybugs had six legs, three PAIRS of legs and talked about how we have a PAIR of legs as well. So we are the SAME in that we have pairs of legs, but we are DIFFERENT in that ladybugs have MORE PAIRS and we have LESS. We also counted 1-6 while cutting, gluing and placing.
12. Glue on legs

13. Glue google eyes on either side of antennae
We have many different sizes of google eyes. As they looked them over, I asked if they wanted big, medium or small ones. Then I asked again if they wanted large, medium or little ones. They were all able to tell me the size they wanted. I instructed the children to find a PAIR of google eyes that were the SAME size. They did. Even the younger ones were able to select and glue on their eyes independently.
We discussed how we are the SAME as ladybugs in the we both have a PAIR of eyes.

B wanted to know if ladybugs were the SAME us and had a mouth. I said they do. She wanted to know where. I said its right at the very bottom edge of the plate between their eyes. She wanted a mouth for her ladybug, so she, along with the rest of the children, chose to draw a mouth on their ladybugs with crayons.
Materials for each:
(2) 10 inch paper plates
red paint
black paint
brad
glue
pair of google eyes
pipe cleaner
1/2 sheet black construction paper
round container to trace
SKILLS:
Language: ladybug, insect, antennae, same, different
Math: circle, rectangle, line, symmetry, pairs, counting 1-6
Science: insect anatomy and functions, hypotheses
Fine Motor: placing brad, punching holes, tracing, cutting, advanced circle cutting, gluing, placing legs and dots, sorting and choosing and placing google eyes, threading pipe cleaner and twisting ends, manipulating wings and antennae
Art: cut, paste, dot placement choices, pipe cleaner color choice, google eyes size choice, symmetry
Tags: childcare, daycare, preschool, pre-k, prek, kindergarten, first grade, insect, ladybug, bug, paper plate, craft, moveable, cut, paste, glue, symmetry, art, pair, math, science, fine motor, shapes


No comments:
Post a Comment
Note: Only a member of this blog may post a comment.